Setting up a WordPress project on Cloud 9
To create a new WordPress based workspace on Cloud 9, start by logging into c9.io. If you do not have an account, and you don’t have an invite from me already, email or Slack message me the email address you want to use and I will send a new invite.
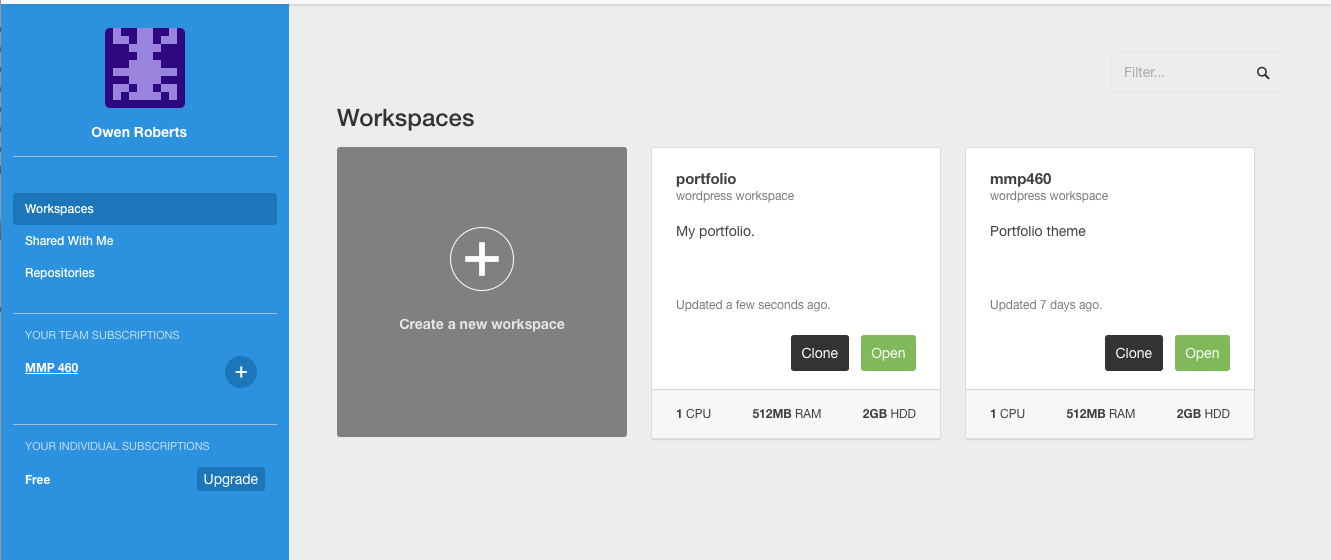
Once you have loaded the Dashboard, click
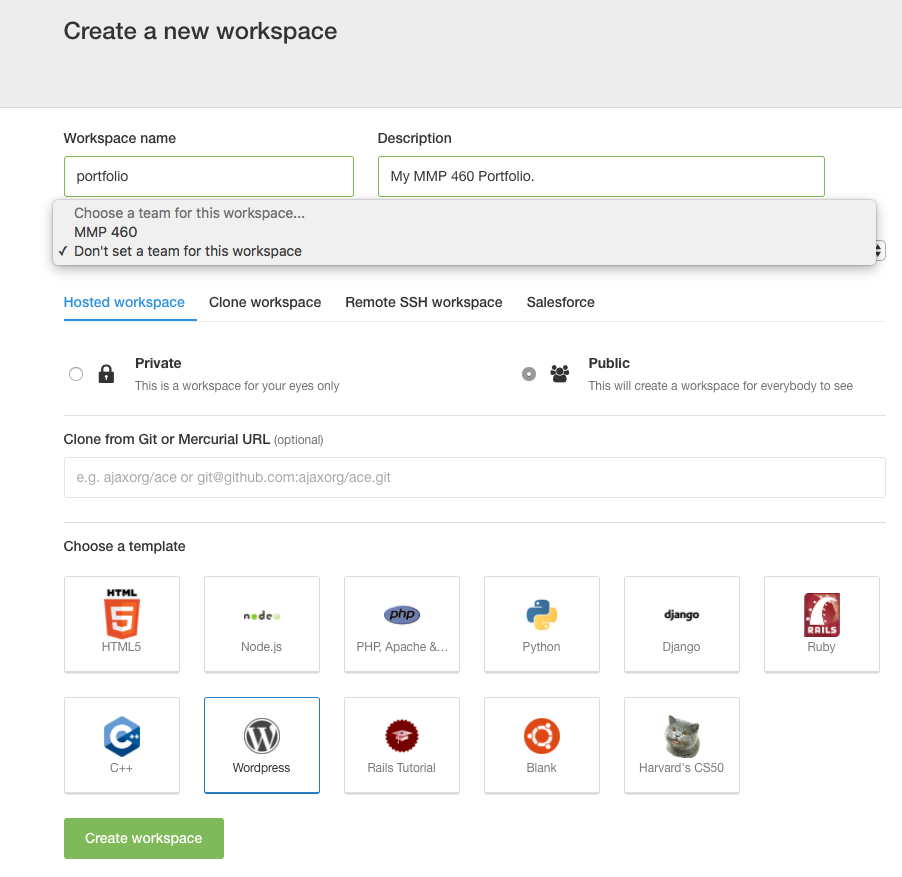
When you click
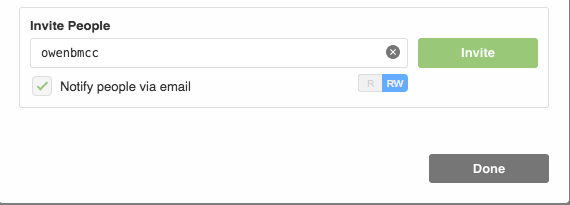
Invite me using my
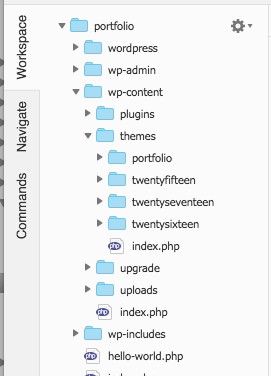
The left hand file browser has the default WordPress install files. You can add your theme here by navigating to
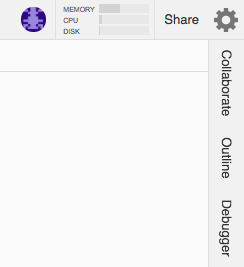
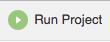
After uploading your theme you can open files to edit in the main window. When you are ready to view the project, click the
This will launch the WordPress site at a url specified in the console. You can click on this URL to view your work and also visit the Dashboard by adding /wp-admin/ to the end of the URL.
